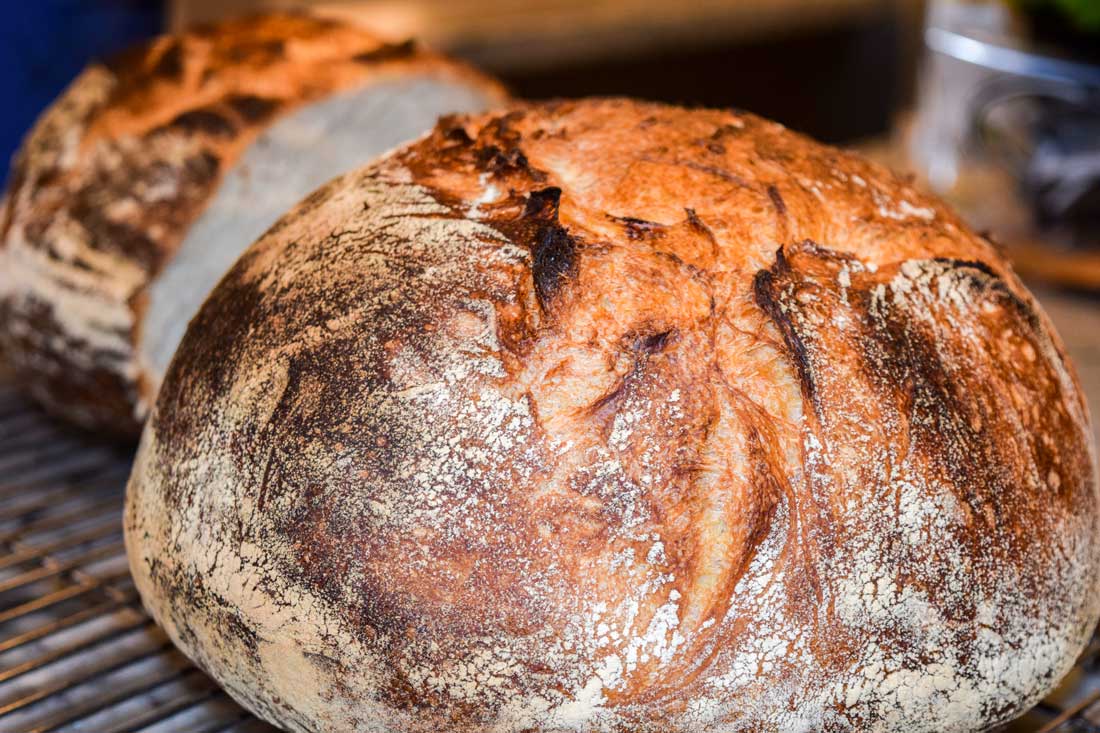
One year ago this past Christmas, Mike gave me a cookbook on baking bread. Was it a hint?? It sure seemed like it. Well, it wasn’t just any cookbook; it was how to bake artisan bread. Mike had wanted me to bake bread for quite some time…not just any type of bread, but the rustic type with a hard, chewy crust. The kind you long for, but are too timid to try baking yourself. Although the process is long and detailed, the outcome is well worth the effort. The snap, crackle, pop the bread makes as it is cooling made me giddy with excitement.
If you have ever tried your hand at baking bread… any kind of bread… you know how excited you get when the dough has doubled and tripled in size. Little did Mike know, but he was creating a monster. He wants bread… well by George I will bake bread!!
Since he gave me this gift, I have baked, and baked, and baked The Saturday White Bread, as I wanted to perfect my ability to make this already perfect bread.
The book is called, Flour Water Salt Yeast by Ken Forkish; an excellent read, but a book that needs to be read before beginning the bread making process. Mr. Forkish is very detailed in his step-by-step instructions, which I found to be extremely helpful as I kept going back and forth re-reading each step as though I was making the bread for the first time. Mr. Forkish clearly worked hard to make sure this recipe worked every time and it has.
First and foremost there are certain tool requirements such as dough tubs, digital scale, instant-read thermometer, proofing baskets and Dutch ovens. Then you need organic all-purpose flour and SAF Red Instant Yeast, a product I found difficult to find in our area, but was able to purchase online through kingarthurflour.com.
For the dough tub, I visited our local Restaurant Supply Store in Richmond, and Sur La Table for the proofing basket, and Amazon.com for the Dutch oven. I pulled all the tools together and one year ago, I started baking bread.
The recipe is quite lengthy, but I wanted to include it. My recommendation would be for you to purchase the cookbook as Mr. Forkish provides such detailed instruction on mixing, folding, shaping, and baking the breads.
The recipe is as follows:
- White Flour – 1,000 grams or 7 ¾ cups
- or 900 grams white flour and 100 grams whole wheat (this is what I use)
- Water – 720 grams, 90 to 95 degrees F
- Fine Sea Salt – 21 grams or 1 tbsp. + 1 scant tsp.
- Instant dried yeast – 4 grams or 1tsp.
I weigh all of my ingredients, as it’s more accurate.
- Autolyse – Combine the 1,000 grams of flour with the 720 grams of water in a 12-quart round tub. Mix by hand until incorporated. Cover and let rest for 20 to 30 minutes.
- Mix – Sprinkle the 21 grams of salt and 4 grams of yeast evenly over the top of the dough. With a wet hand reach underneath the dough and grab about one-fourth of the dough and gently stretch and fold over remaining dough. Keep stretching and folding until you have gone all the way around the tub and the yeast and salt is enclosed. You will want to rewet your working hand several times while doing this process. Once you have folded the dough, continue mixing using the pincer method. Using your forefinger and thumb, make five or six pincer cuts across the dough and then fold to make sure the ingredients are fully incorporated. Fold the dough over itself a few times. Let the dough rest, then pincer cut and fold again. The temperature of your dough should be 77 to 78 degrees F. Cover the tub and let the dough rise. From this point, it will take approximately fives hours for the dough to triple in size.
- Fold – The dough will need two folds… the first, 10 minutes after the initial mix and the second within the next hour and a half. Folding the dough helps develop the gluten which gives the dough strength. Do the folds according to step 2, but in this step you will invert the dough to help it hold its tension. Here you are just folding the dough and not using the pincer cut. Each fold should take about a minute
- Divide – When your dough has tripled in size, its time to take the dough out of the tub. With floured hands gently loosen the dough from around the tub onto a lightly floured work surface… do this without pulling or tearing. Now gently pick up the dough and place it back down in a somewhat even shape. Sprinkle flour across the top middle part of the dough and cut the dough into two equal parts.
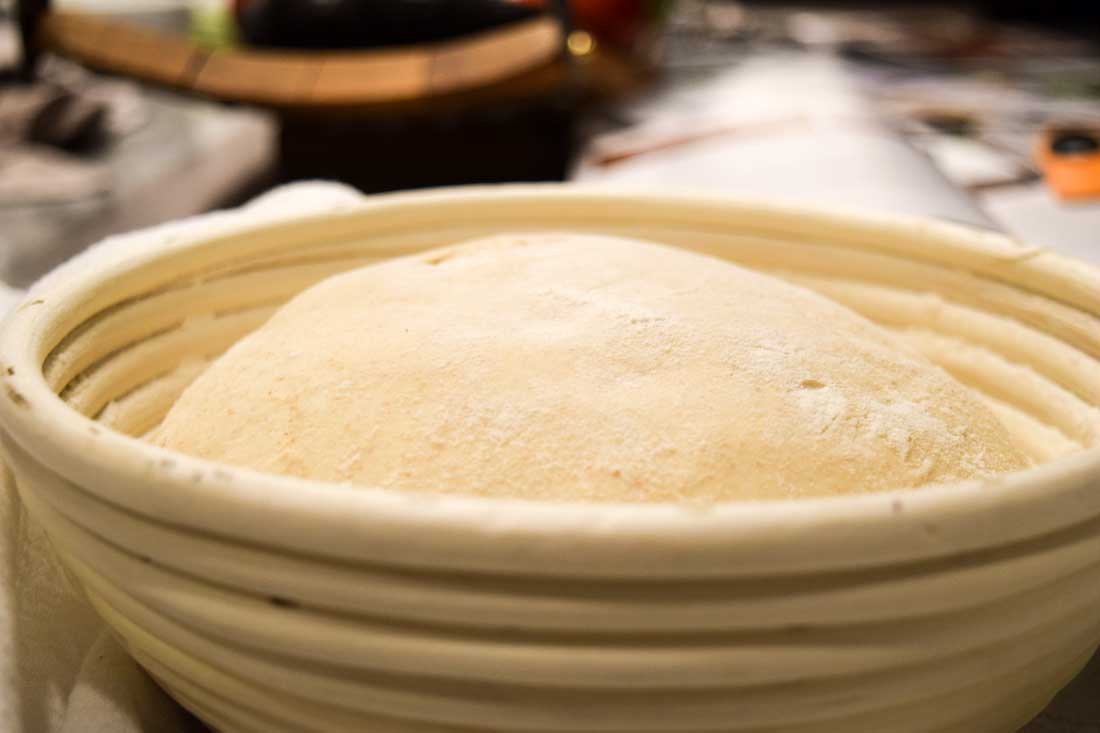
- Shape – The goal of shaping the dough is to form each piece into a medium-tight round. Using the folding method, stretch the dough to its maximum stretch and fold it over the top. Repeat by working your way around the dough and forming it into a ball with tension. Then flip it over so the seam is on the work surface. In an area that is clean of flour, cup the back of the dough ball and pull it toward you. What you are doing is trying to tighten up the ball and add tension. Do this until you have gone all the way around the dough two to three times. You want enough tension so that the loaf holds its shape and gases. After you have done this to both your loaves, place them seam side down into your floured proofing basket. Lightly flour the tops of your loaves and cover with a kitchen towel or put the proofing basket in non-perforated plastic bags.
- Proof – This term refers to the final rise. This process will take one hour if not slightly longer. To achieve full potential of your loaves, you need to proof them completely. To determine if your loaves are perfectly proofed and ready to bake, check the loaves after one hour using the finger-dent test. Poke the rising loaf with a floured finger, making an indentation about ½ inch deep. If it springs back immediately, the loaf needs more proofing time. If the indentation springs back slowly and incompletely, the loaf is fully proofed and ready to bake. If the indentation does not spring back at all, the loaf is over proofed.
- Preheat – At least 45 minutes prior to baking your breads place two Dutch ovens on a rack in the middle of your oven with the lids on. Preheat the oven to 475 degrees. The goal is for the Dutch oven to be fully saturated with oven heat before you place the loaf inside. If you only have one Dutch oven, place the second loaf into the refrigerator 20 minutes before baking the first loaf. Once your first loaf comes out of the oven, reheat the Dutch oven for about 5 minutes before baking the second loaf.
- Bake – For this step, please be careful not to touch the extremely hot Dutch oven. Use heavy-duty oven mitts. Invert the proofed loaf onto a lightly floured countertop; the top of the loaf will be the side that was facing down while rising…the seam side. Take the Dutch oven out of the oven, remove the lid and carefully place the loaf in the hot Dutch oven seam side up. Replace the lid and put the Dutch oven in the oven. Bake for 30 minutes with the lid on then carefully remove the lid and bake an additional 20 minutes or until the bread is medium dark brown. Remove the Dutch oven and tilt to get the loaf out. Let the loaf rest on a rack for at least 20 minutes before slicing. Enjoy the snap, crackle and pop!

I know the temptation will be to slice into your bread the minute you get it out of the oven, I’ve been there many times, but do wait…pull out the butter and savor the thought of the butter meeting the bread. Patience is a virtue. Once you have sliced into your loaf enjoy the earthy taste of the inside and the crustiness of the outside with the sweet taste of the butter melting into your slice. I have learned that baking bread is truly a labor of love like anything in life. Here’s to your new passion!
Enjoy!


