One of my fondest memories goes back to our days in northern Virginia…the girls were little, it was Father’s Day weekend, and we were off to an orchard to pick peaches, cherries, and Italian plums. I remember that day as if it were yesterday, we ate as much fruit as we picked. When we got home it struck me, I had countless bags of freshly picked fruit and knew we would not be able to eat it all fast enough…so what’s a mom to do?? It just so happened that I had received an issue of Southern Living magazine featuring how to make frozen peach pie fillings. So, after a quick read, I rolled up my sleeves, started peeling and slicing the peaches and pitting the cherries. Before I knew it, the freezer was full of frozen fruit pie fillings. The great part was that all I had to do to have a freshly baked pie was make the crust. It made for quite a few wonderful months of homemade pies.
Mike and I enjoy going to orchards, from ones in upstate New York to our beloved Carter Mountain in Virginia. It has become our fall tradition. We buy lots of apples to make applesauce and apple pies, but it wasn’t until a few years ago that I started freezing the apple pie fillings. I had one of those ah-ha moments…what worked for peaches and cherries must certainly work for apples and it did! What a time saver!
With the holidays around the corner (have you been in any of the big box stores lately!?), it’s good to start prepping and even thinking about menus. I will have a houseful at Christmas and being prepared will help me stay calm and enjoy my company.

The first thing you want to do is make an apple pie filling. If you don’t have a recipe here is my go to recipe. Here’s what you will need:
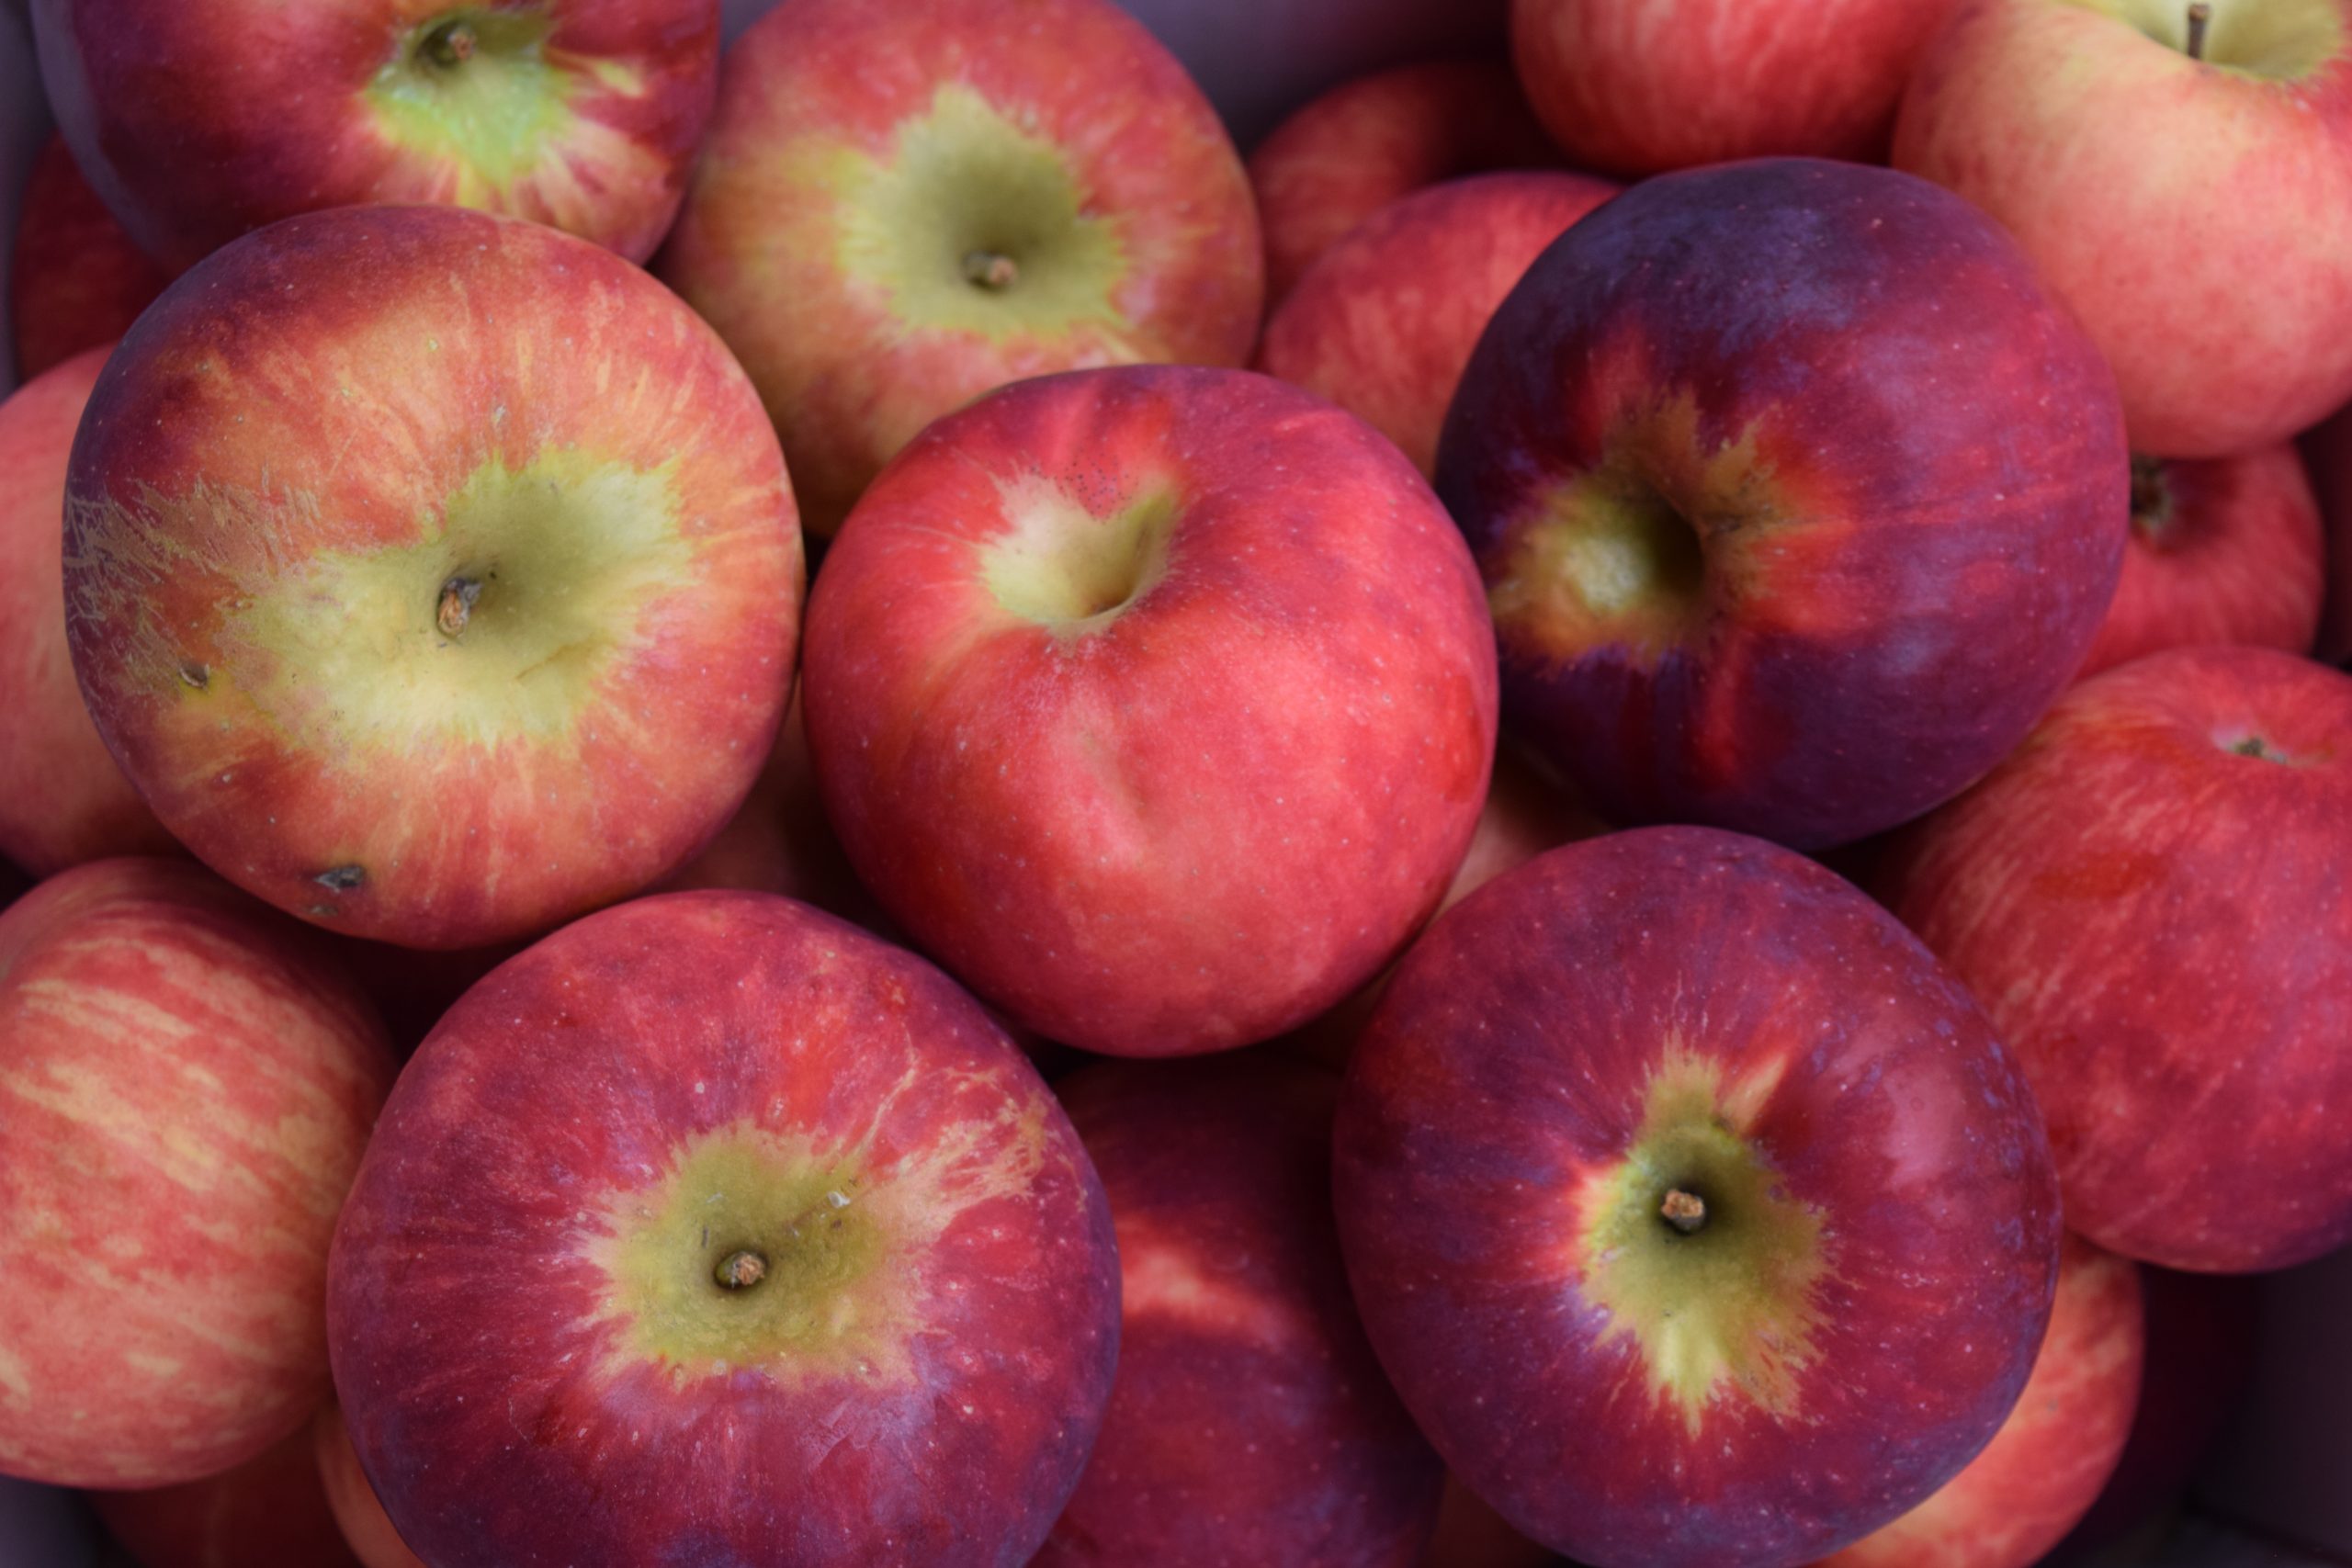
- 6 – 8 apples, cored, peeled, and sliced (I use Cortland and Pippins because they are great for baking)
- 1/2 – 3/4 cup sugar, will depend on how sweet you want your pie
- 1/4 cup flour
- 1 tsp. cinnamon, more can be added if needed
- 1/2 tsp. freshly ground nutmeg, more can be added if needed
- 1/4 cup water
- 1 tsp. freshly squeezed lemon juice

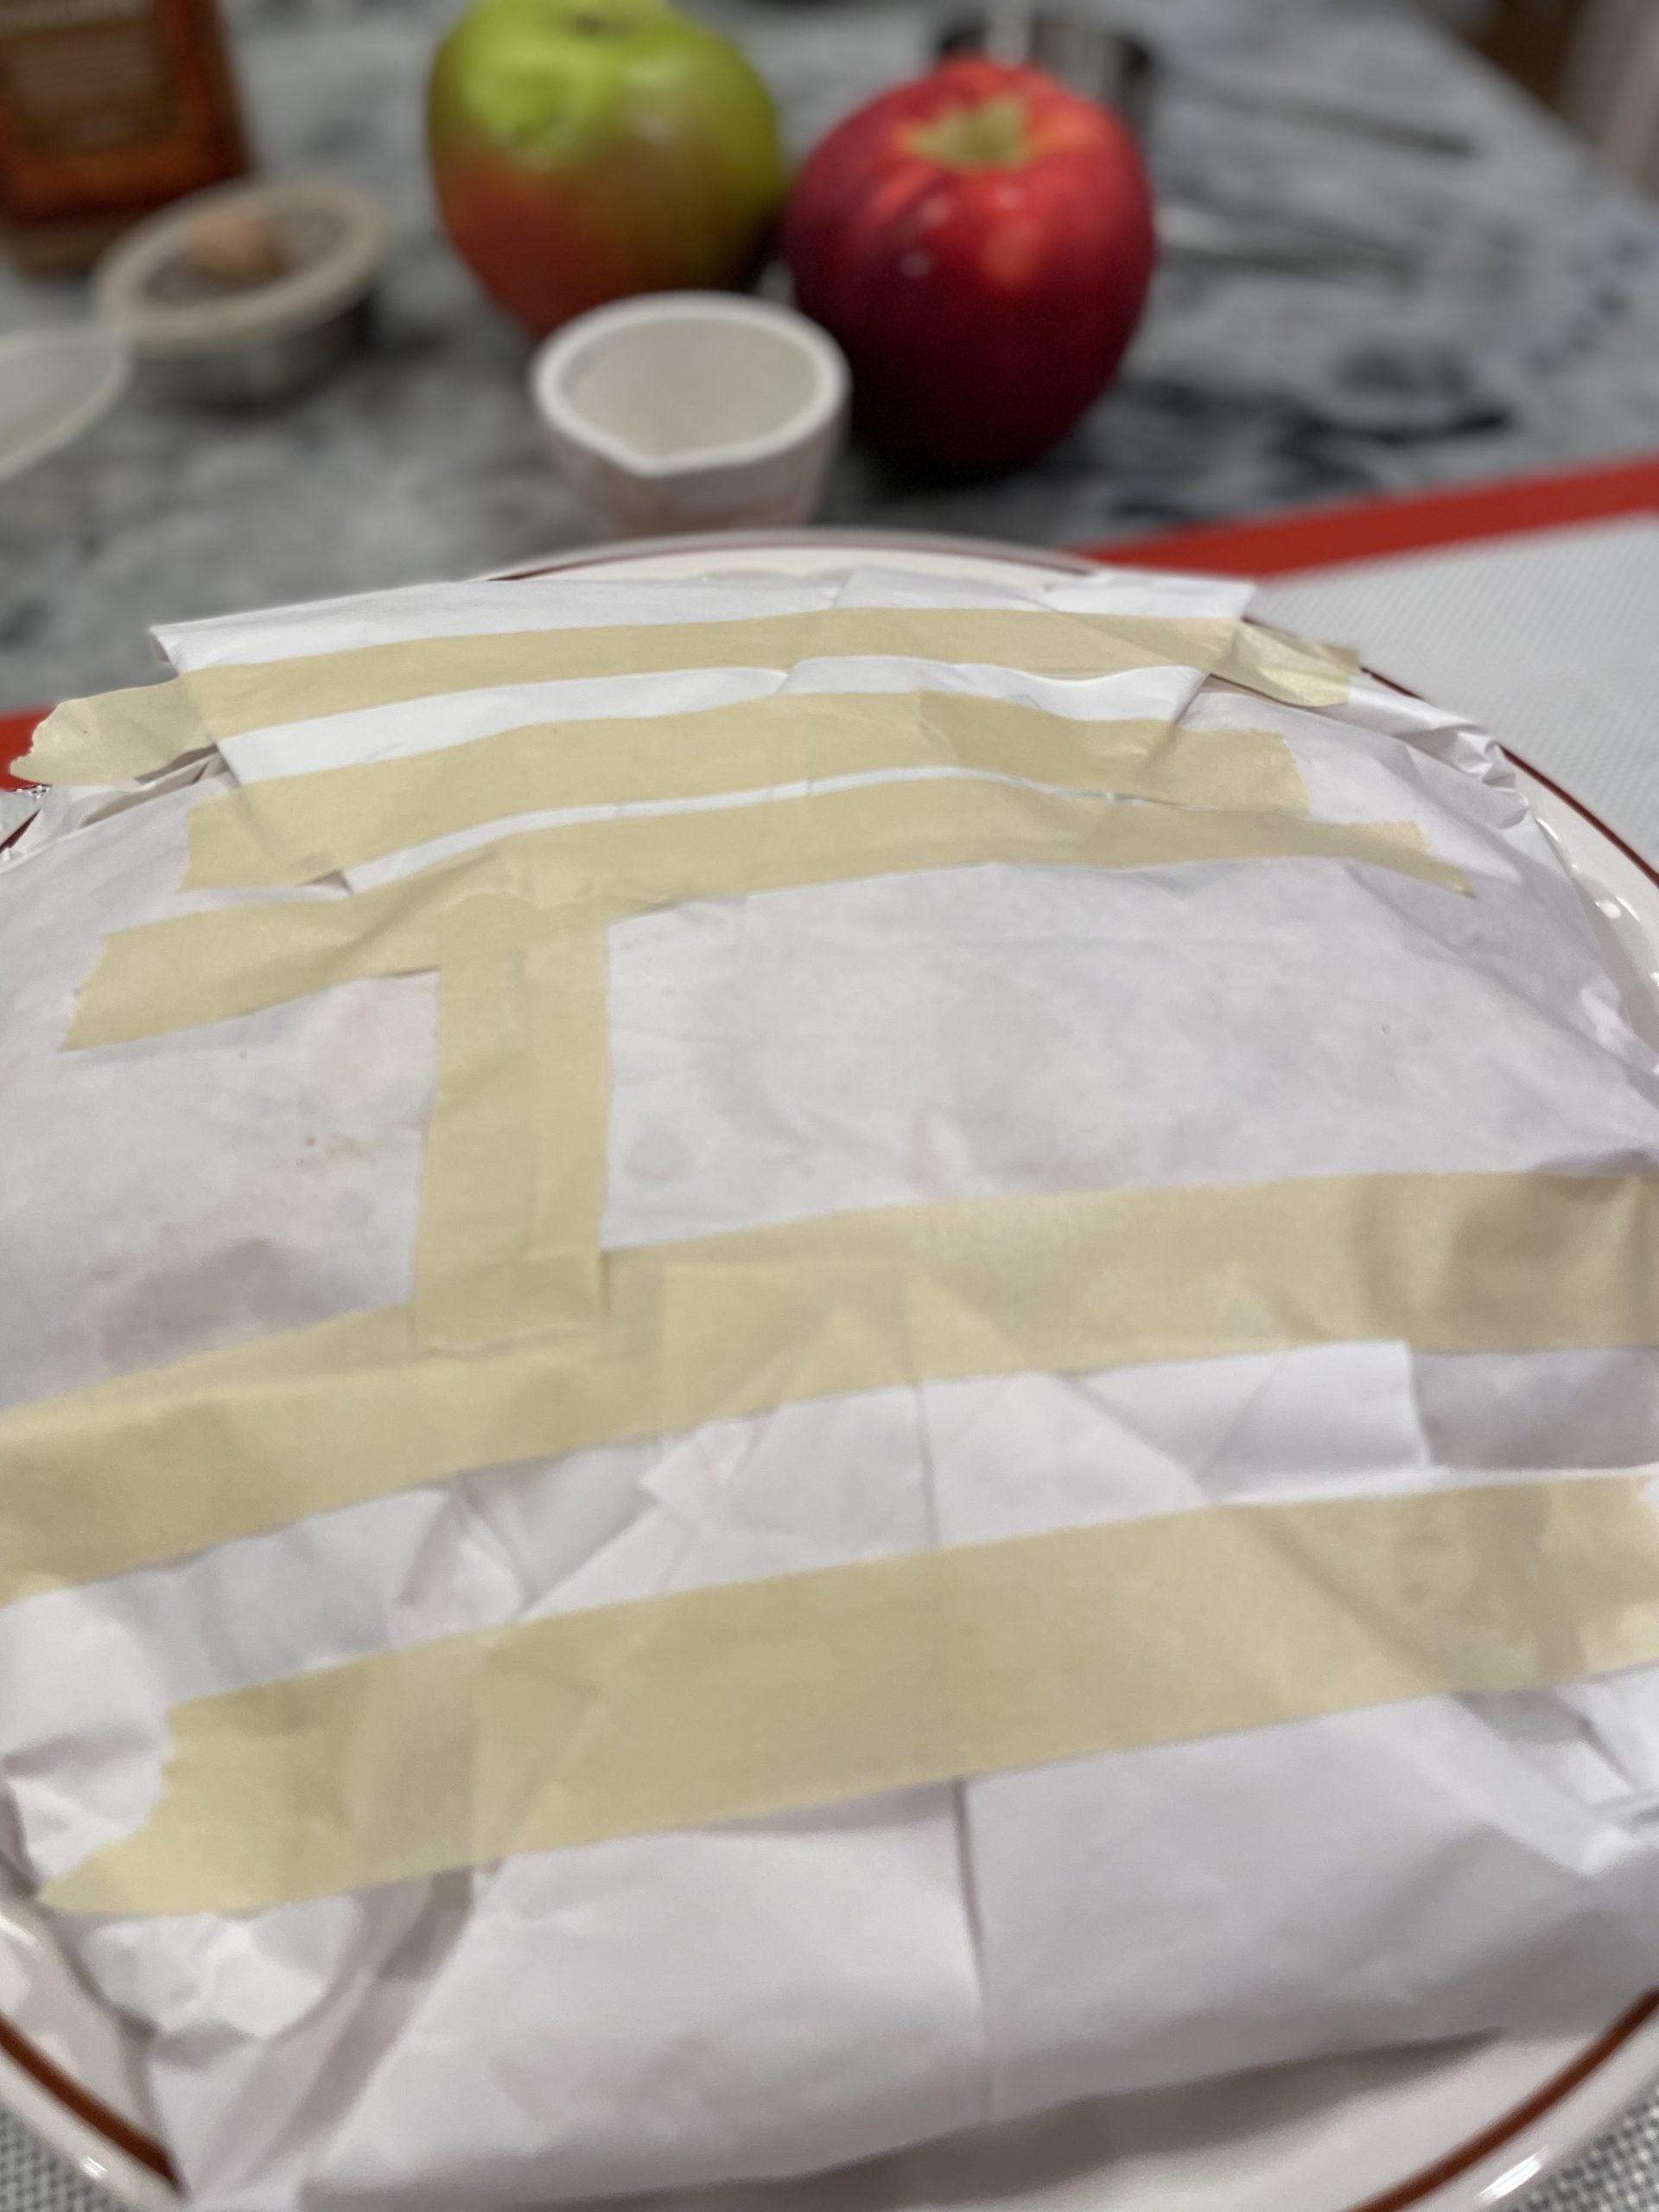
Once you have mixed everything up, take a pie dish and line it with a very large piece of freezer paper with the shiny side facing up. Place the freezer paper into the pie dish (push it into place) and make sure it extends over the pie dish by at least five inches. Once that is ready, pour your apple pie filling into the dish making sure it fills the entire diameter of the dish. Gently tap down the apple pie filling and then fold the freezer paper over the pie on one side and then the other, and then do the top and the bottom.

Use masking tape to gently hold it all together (initially one piece will do). Place the dish with the apple pie filling that you have wrapped in the freezer paper into the freezer and let it freeze before taping it down thoroughly. Once the pie is completely frozen, take it out of the pie dish, tape it up and place it into an oversized plastic bag and zip it closed. I use the Hefty brand with a stronger seal. My recommendation would be to date the pie filling(s).
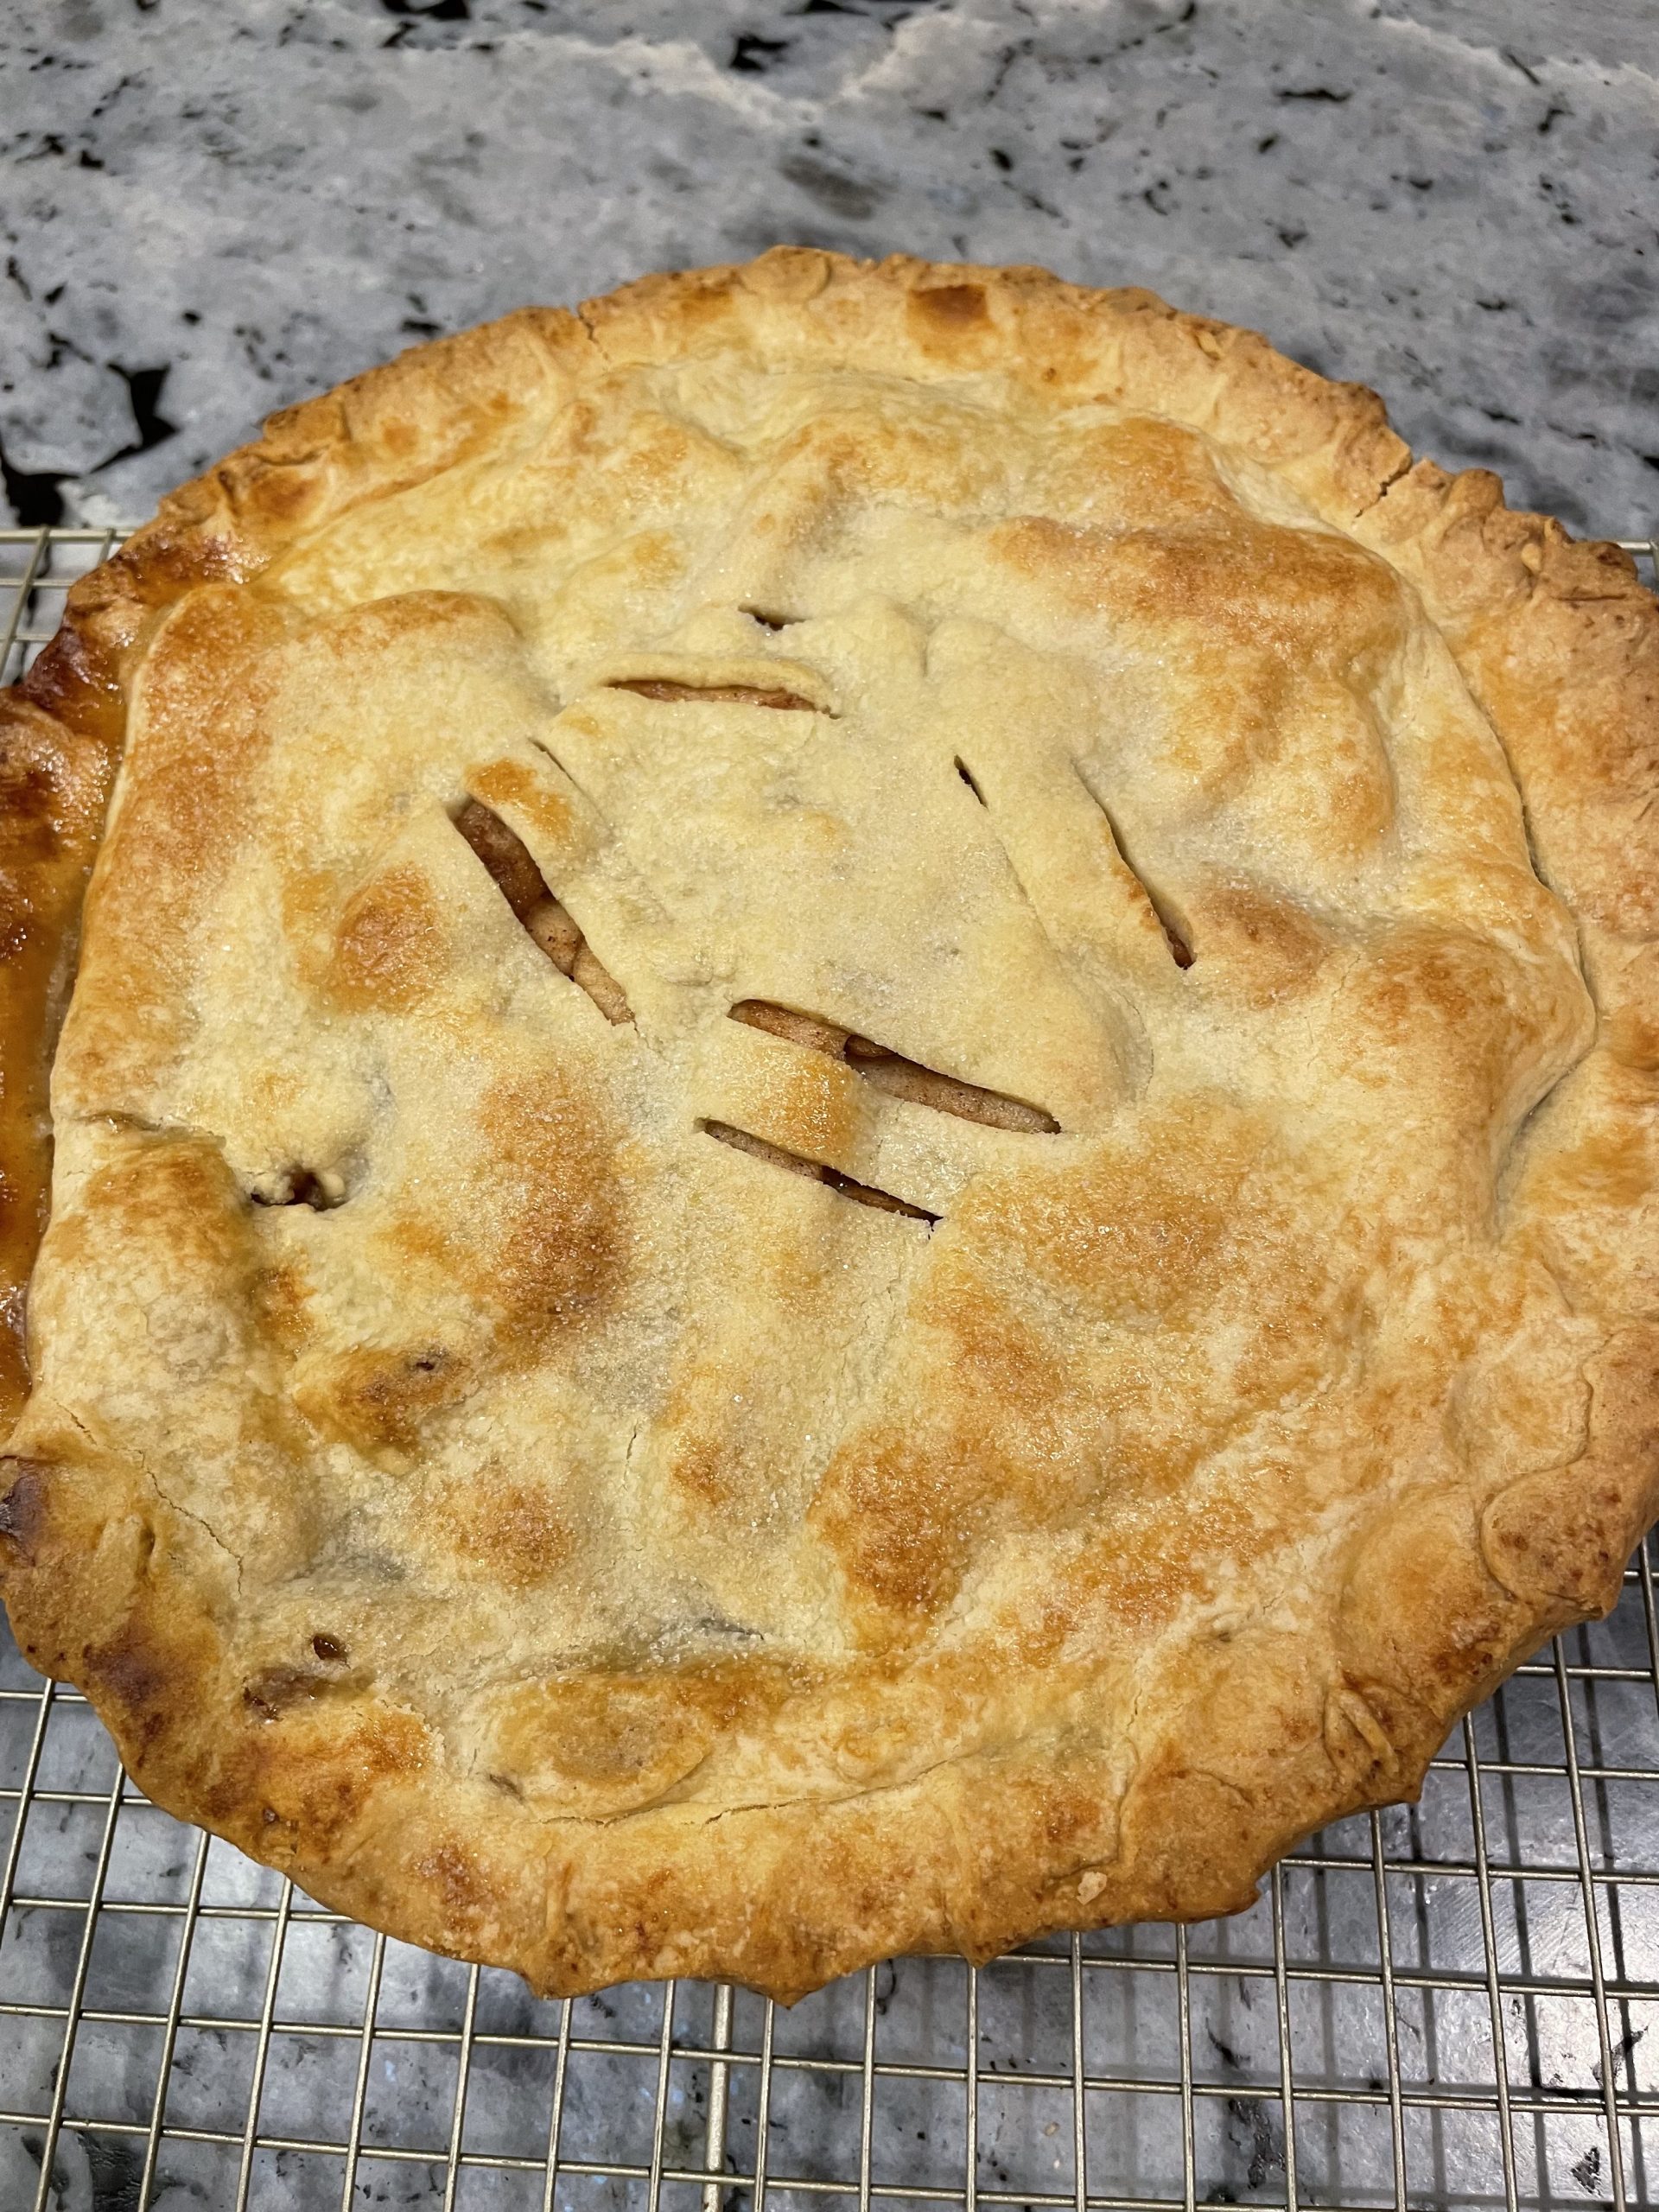
Once you are ready to use a frozen pie filling, make your pastry. Below is the butter crust recipe I use. Be sure to use the same pie dish which you used to freeze the pie filling in. Roll out the dough, place it into the pie dish, pierce the dough with a fork, and then sprinkle the dough with Tapioca Granules. Take your pie filling out of the freezer paper and place into the pie dish. Cut 1 tablespoon of butter into small pieces and place over the frozen pie filling. Roll out the top crust, make slits in the dough for steam to escape and gently place over the pie. Press around the edge to seal. Then brush the top with milk and sprinkle with sugar. Because your pie will be in the oven longer than normal use an Adjustable Pie Shield to prevent the pie from burning around the edges. Bake in a 350-degree oven for at least an hour and 15 minutes, maybe even longer depending on your oven. Check at the 60-minute point but continue baking until the pie is golden brown and it starts to bubble. You can remove the Adjustable Pie Shield just prior to taking the pie out of the oven to be sure the edge is golden brown.

Here’s what you will need for the butter crust recipe:
- 2 1/2 cups all-purpose flour
- 1 tbsp. sugar
- 3/4 tsp. kosher salt, I use Diamond Crystal
- 1 cup (2 sticks) chilled unsalted butter, cut into 1/2″ pieces
- 4 – 6 tbsps. chilled water
Directions:
- Pulse 2 1/2 cups all-purpose flour, 1 tbsp. sugar, and 3/4 tsp. kosher salt in a food processor to combine. Add 1 cup (2 sticks) chilled unsalted butter, cut into 1/2″ pieces, and pulse until mixture resembles coarse meal. Drizzle in 4 tbsps. ice water, pulsing just until dough comes together in moist clumps. Pulse in more water by tablespoonful if needed (dough should still be crumbly).
- Turn dough out onto a surface and gather into a ball. Divide in half, then flatten each portion into a disk. Wrap tightly in plastic and chill at least 2 hours and up to 12 hours. Can be frozen for a few months if needed.
The Butter Crust recipe comes from Epicurious.
Enjoy and bon appétit!


